A new user interface for Trailguide
 Bjørn Jarle Kvande, 24. April 2023
What has been done to improve the user experience (UX) before the 2023 summer season?
The user interface of Trailguide has evolved a lot over the years.
Little by little it has changed as we learn more and add more features. I think it has improved the ease of use and efficiency of the app a lot. At the same time the visual appearance has also improved.
Here is an overview of the changes we have made during our spring cleaning.
Previous user interface and some of the problems with it
The navigation bar at the bottom had five buttons that were mostly unrelated to each other. The usage frequency of each button was also very different.


There were buttons for settings, sharing to social media, adjusting the transparancy of the map overlays, selecting categories, and finally, one for getting the GPS location.
Mostly, only the location button that was used. And people who were curious of what was underneath the tracks would use the transparency adjuster.
Selecting the current type of content required two clicks and it did not give a good visual indication of what was selected.
If you wanted to show a list of the content, you would click the button along the left edge. However, this was not easily reachable with your thumb, and required you to operate the app with two hands.
The map and map overlay selector was opened using the button in the middle of the right edge. However, the map and overlay selector dialog did not look good and had two separate parts.
New navigation bar for easier one-hand operation
The new navigation bar at the bottom now only has three buttons. One to show the list of content, one to go back to the map, and one to get your current location.
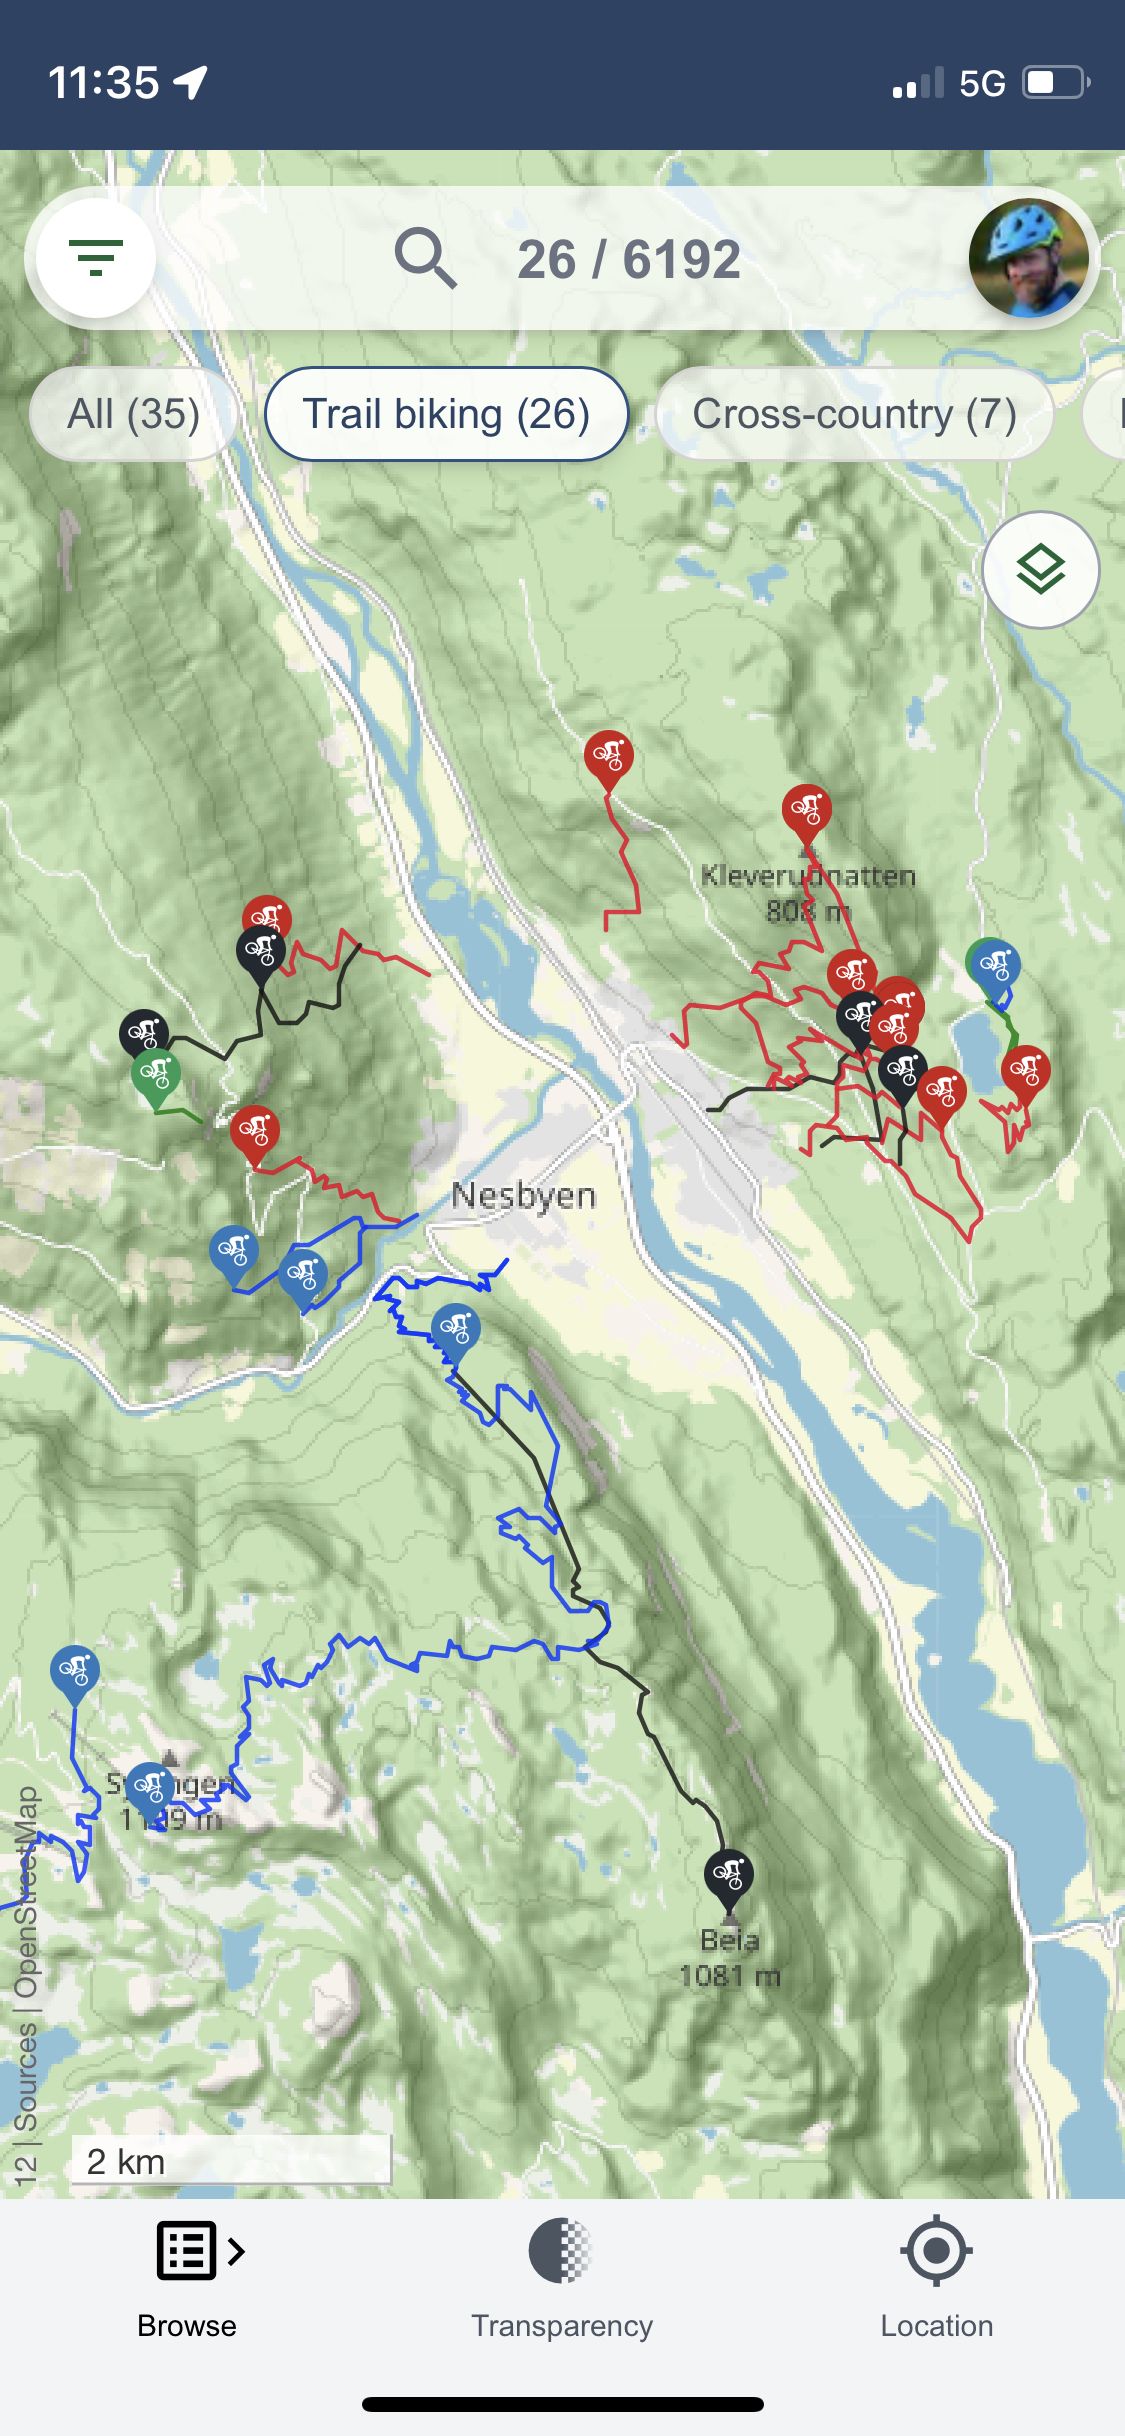
The navigation bar can now easily be operated using your thumb holding the phone with one hand.
The old button used for showing the list of content is now removed and replaced by the navigation bar button. Any element you can remove is a good thing.
The category selector has now been moved to the top of the app. You can easily see what content is currently selected, and what other type of content is available.
The category selector can be hidden out of the way by dragging it to the right. The app will remember this when you reopen it.
The map selector has also been moved further up, below the category selector. The thinking is that this is not used very much and I wanted to move it out of the way.
The new map selector
All maps and map detail selections are now in the same dialog. No extra clicking is needed to access these functions.

The dialog occupies the bottom half of the screen so that it can easily be operated using one hand if needed.
Scrolling the dialog reveals options to show additional details on the map such as MTB singletracks and cycle routes from OpenStreetMap.
In addition to the biking heatmap from Strava we have now added separate heatmaps for running, skiing, and water activities.
If you want to see the content of the map more clearly, you can set the map itself to be grayscale. The content will be shown in full color.
If you feel really advanced and are hunting for unknown and secret trails, you can split the map in two with one half showing satellite photos, and the other half showing the map.
The new menu and settings dialog
Since we removed the settings button from the navigation bar, we needed to find a new home for the settings. We decided to combine the settings and drop-down menu. It is accessed by clicking the avatar image in the top right corner.
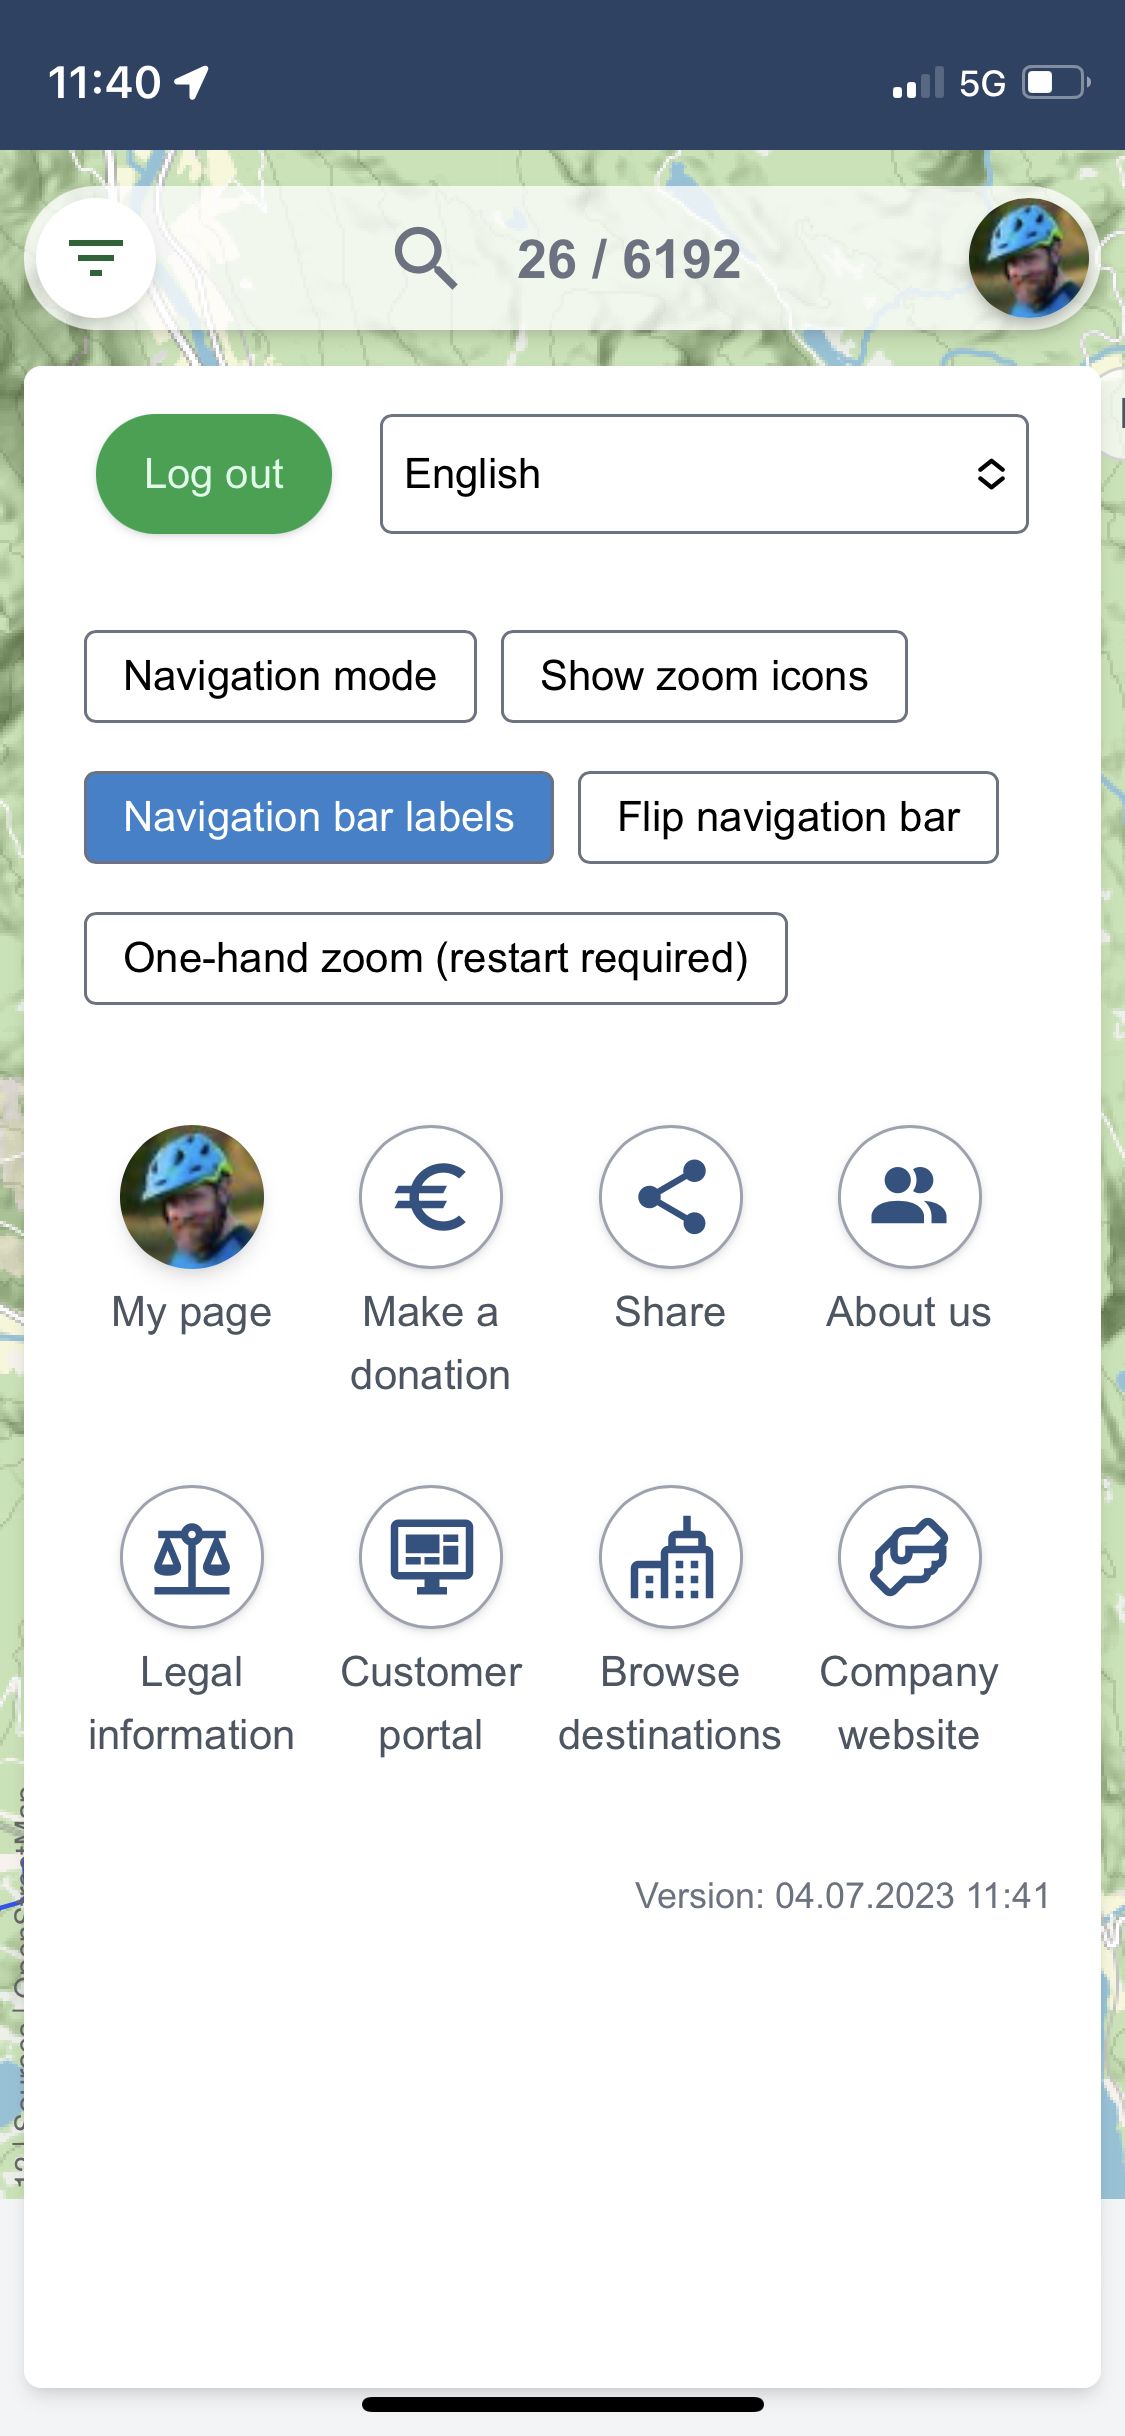
You have access to settings for language, toggling the map zoom icons, and turning on navigation mode of the app.
If you want even more space for the map, you can hide the navigation bar icon labels.
If you are left handed, you can flip the navigation bar left-right for easier left-hand operation.
Further there are buttons for making a donation to the operation of Trailguide, and the button to share the current map position on social media.
The current version you are using is shown in the bottom right corner. It shows the date and time it was built.
The content category selector
The category selector is now located at the top of the screen below the search field. You can move the selector left and right to uncover what is available and you only need one click to select the current category.


If you seldom change the content category and you want more space for the map, you can hide the category selector by dragging it all the way to the right of the screen. The app will remember this when you reopen it.
New navigation mode
We renamed the old follow-me mode to navigation mode and added a compass arrow and the option to show heading up instead of north up.
You activate the navigation mode from the settings menu, or by clicking and holding the location button in the nav-bar for more than one second. You switch between north-up or heading-up by clicking the compass icon just below the map selector button.
NOTE 1: If you are in normal mode and long-click the location icon the app will NOT be able to access the compass device on the phone (due to built-in security restrictions in the phone). Click the location button again (not long) and it will be able to access the compass device.
NOTE 2: Your phone must have a compass device for this to work, and the heading indication is only as good as your compass. The arrow will not be precise (if you suffer from a condition causing you to go crazy because it is not pointing exactly in the right direction, don't use it).


To make it even easier to navigate, the app will also leave "breadcrumbs" indicating where you have been moving for the last hour. The color of the breadcrumbs will change from red hot, to orange, to yellow, to green, to blue, to purple - depending on the age of the breadcrumb.
With the combination of these breadcrumbs and use of heading-up, you should have no problem deciding which way to go when you reach a fork in the path.
NOTE 3: The location indicator will pulsate each time it receives new location data from the phone. If you see it stop blinking for an extended period but you are still moving, try clicking the navigate button to reactivate it.
Tap-tap-hold-and-drag to zoom
To improve one-handed operation, we added the possibility to zoom the map by double-clicking, holding, and dragging the map (tap-tap-hold-drag).
NOTE 1: On iPhone this gesture normally triggers a built-in magnifying glass. I had to implement a hack to make it work, so it might not be 100% stable.
NOTE 2: If you drag the map multiple times within a short time, you might trigger the tap-tap-hold-drag function and the map might appears frozen. Try dragging the map with one finger to "release" it (rage-clicking might also work).
I wish you a fantastic summmer with great outdoor adventures :)
Bjørn Jarle Kvande
Developer in Chief
Trailguide